

 Sep 24, 2026 - Cameron Brierley
We've been building home gyms for almost a decade, and the difference between a good setup and a great one almost always comes down to planning. If you know the problems other home gym owners run into, you can plan around them from the start.
This checklist covers 13 things worth checking before you make your first purchase, so your gym is futureproofed from day one.
The room
1.Start with your room height
Your ceiling height is the most important measurement you'll take because it decides which squat racks, cable machines and all-in-one trainers you can fit. Measure to the lowest point in the room, not just the ceiling. Depending on where your equipment will go, beams, light fittings and garage door mechanisms can all eat into your headroom.
Once you know your height, shopping gets a lot easier, as you'll know straight away whether a rack will fit.
If you want to do pull-ups on your rack, leave another 30cm between the top of the frame and your ceiling. That way you can train the movement without leaving a head-shaped crater for the next owner to find.

2.Don't skip the flooring
Gym flooring protects your subfloor from damage and softens the impact when you drop plates or dumbbells. It also helps soundproof the room and gives you a stable, level base for your equipment and training.
It's not the most exciting purchase, but it should be your first. One thing to watch: flooring raises everything that sits on it. Standard 20mm home gym flooring adds 2cm to the height of your rack, which isn't something you want to find out on build day. Make sure you factor this into your ceiling measurement.
Not sure which flooring you need?
Our gym flooring guide covers thickness, finishes and how much of the room to tile.
3.Think about heating and insulation
Most UK garages aren't heated, as you'll soon notice in winter.
You might be planning to add heating and insulation to the room. If that isn't possible, a few items will make training more comfortable and keep your equipment in good condition.
The first is obvious: a heater. It sounds odd for a gym, but you'll need it. It's also worth having a dehumidifier. Condensation leaves moisture on the steel of your equipment, which causes rust over time, and the heat you give off while training only adds to it. A dehumidifier keeps the moisture in check so your kit lasts longer.
In summer, especially after the scorchers we've had lately, you'll have the opposite problem and will probably want a fan running while you train.
The layout
4.Plan your whole space rather than buying piece by piece
It's tempting to dive straight in and buy a rack when you first plan a home gym. We get it; the options are endless.
The problem with buying piece by piece is that you never step back and look at the room as a whole. Home gyms are heavily limited by space, and every square inch counts. What if the rack you bought on a whim could have been combined with another piece of equipment?
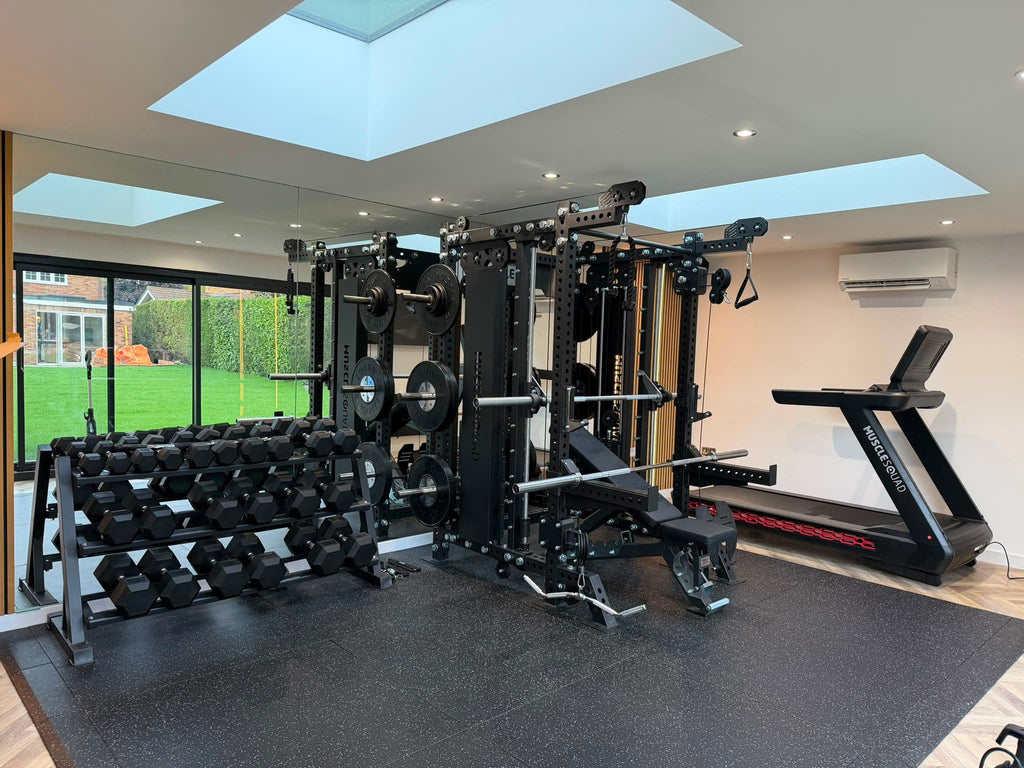
Before you buy anything, sketch out exactly what you want in the room. This makes it much easier to spot where one piece of kit could do the job of two, and where you're at risk of running out of space.
5.Think about storage
Plates on the floor, bars leaning against the wall and dumbbells left wherever they were put down. Storage is easy to overlook, but without it a space is much less pleasant to train in.
Most racks have plate storage on the side. If yours doesn't, a weight plate tree is a simple fix. Then think about everything else: spare bars, collars, bands and accessories. Wall storage is a smart choice wherever possible, as it keeps the floor clear.

It's a bit like sleeping in a tidy bedroom versus a messy one. Both do the job, but one is much nicer to be in. And after the effort of building a gym at home, you want as few excuses as possible not to use it.
6.Tape your space out
When customers are trying to picture how one of our racks would fit in their space, our best advice is to tape it out.
Every rack's measurements are on its product page. With those, a tape measure and some masking tape, you can mark out exactly where it would sit in your room.
From there, you can check whether there's room to work around it. Can you step back far enough for cable rows? Is there space for cable flys? Rather than guessing, take five minutes to get an accurate answer before you commit.
Don't forget the barbell. A standard 7ft bar takes up a lot of room, and you'll need around 30cm of clearance at each end to load plates comfortably.
We can't stress this enough: taping your room out is the next best thing to seeing the equipment in there yourself.
The kit
7.Make sure your key exercises are covered
It's all well and good buying an all-in-one trainer with a squat rack and cables, but what if one of your key exercises needs a Smith machine?
You'll probably do this without thinking, but when you're shopping, make sure your equipment covers the exercises you normally train.
If you're just starting out and aren't sure what you'll need, a dumbbell set, a bench and a cable machine will cover just about every exercise. You can build from there.
8.Get to know cable ratios
Not all cable machines are made equal. A machine's cable ratio decides how much of the weight stack you'll feel at the handle, so it's worth understanding before you buy.
A 30kg weight stack gives you 30kg of resistance.
The same 30kg stack gives you 15kg of resistance.
It sounds like 1:1 is always the better choice, but there's more to it. 2:1 systems let you progress in smaller jumps. That's useful for isolation movements like lateral raises and chest flys, where a 5kg jump is often too much.
Where possible, choose a machine with both 1:1 and 2:1 options. If you have to pick one, 2:1 is better for all-round use, while 1:1 suits people who lift heavy.
There's more to cable ratios than that, but those are the basics to know before you buy.
9.Buy for the future
Once your key exercises are covered, think about where your training might be in a year or two. Can your rack take attachments later? Does the cable stack have enough weight to grow into? Do you have enough plates for where your lifts are heading?
We're not suggesting you buy everything now. Just make sure your equipment will last as you get stronger.
10.Budget for the whole gym, not just the rack
A rack is usually the centrepiece of a home gym, and for good reason, but the bar, plates, bench and flooring all add up. It's common to spend most of the budget on the rack, but that shouldn't mean cutting corners elsewhere.
Work out the full cost of the gym you want before you buy, so nothing important gets squeezed out at the end.
Setting it up
11.Plan the build
You might be having your rack installed for you, or you might be doing it yourself. Building gym equipment is more involved than putting together a sofa or desk, but the idea is the same: the pieces arrive flat and need bolting together.
The big difference is weight. All of our racks need two people to build, as some parts can't be held in place and secured to the frame at the same time by one person.
12.Think about who else will use it
A lot of our customers build home gyms for the whole family to use. If that's you, make sure there's a good range of weights and training options for anyone new to weight training.
A 6ft barbell, which weighs 15kg, can be a smart choice here, as it gives a lighter starting point for barbell work.
13.Don't skip the safeties
When you train at home, you're the only one in the gym most of the time. So it's essential to have a way out of a failed barbell lift.
When buying a rack, make sure it comes with safety or spotter arms. These sit on the frame just below the bottom of your lift and catch the bar if you can't get it back up.

Smith machines are another popular way to train safely on your own. The bar runs along a pair of rails and can be hooked onto the frame at multiple points, so you can twist it back into a safe position whenever you need to.

Leave a comment: